
You are viewing the article 6 quick, beautiful, and simple ways to make ribbon bows, anyone can do it at Thptlaihoa.edu.vn you can quickly access the necessary information in the table of contents of the article below.
Ribbon bows are a versatile accessory that can add a touch of elegance and charm to any gift or décor. Whether you’re preparing for a special occasion or simply wanting to elevate the look of a present, learning how to make ribbon bows is a skill worth acquiring. Luckily, they don’t have to be complicated or time-consuming! In this guide, we will explore six quick, beautiful, and simple ways to create stunning ribbon bows that anyone, regardless of their level of crafting expertise, can accomplish. So, grab your ribbon, unleash your creativity, and get ready to adorn your gifts and projects with these fabulous bows!
Ribbon bow is one of the tips for making simple crafts, handmade items, but extremely attractive to everyone’s eyes by creating a different highlight. Not only that, they also prove your ingenuity and meticulousness.
And to tie a ribbon bow is not too difficult. If you don’t know how to do it, let’s Thptlaihoa.edu.vn refer to 6 quick, beautiful, and simple ways to make ribbon bows, anyone can do it right below.
How to tie a basic ribbon bow
Ingredient
- 1 ribbon about 10cm
- 1 thread about 10-15cm
- Scissors, glue (milk glue/candle glue,…)
Doing
 How to make a basic ribbon bow
First, you cut a short piece of about 0.5 – 1cm (horizontally) of the ribbon to make the center of the bow. As for the remaining ribbon, you fold it in half and inflate it by crisscrossing their ends together.
Then, you fold the top of the 2 ribbons down to create a crease for the 2 bow wings, then use thread to wrap it around and tie it tight. When you’re done, take the original cut ribbon around the center of the bow and use glue to fix it. So it’s done.
Finished product
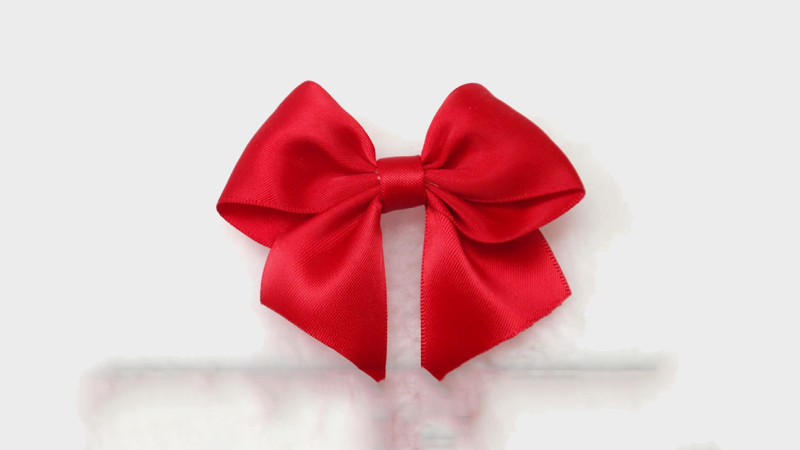 The bow is simple but no less beautiful
This is a bow that is both simple and easy to make, but still very pretty. Make sure the “clumsy team” can also be completed easily.
How to tie a double ribbon bow
Ingredient
- 1 20cm . ribbon
- 1 thread 10-15cm
- Scissors, glue (milk glue/candle glue,…)
Doing
 How to make a double ribbon bow
First, you cut the ribbon into a short length of about 0.5 – 1cm (horizontally) to make the center of the bow. As for the remaining ribbon, you fold it in half and inflate it by criss-crossing their two ends together. When done, fold the tops of the 2 ribbons down to create folds for the 2 bow wings.
Then, you turn the 2 wires of the ribbon upside down to create 4 wings, then use the thread to wrap it around and tie it tight. When you’re done, take the original cut ribbon around the center of the bow and use glue to fix it. So it’s done.
Finished product
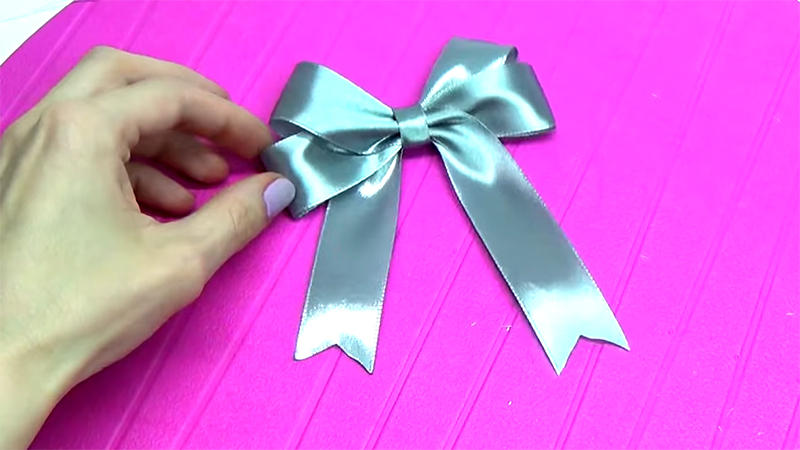 The double ribbon bow is so pretty
This double bow also has the same way of making the basic bow. However, if you want a new feel for the usual bow, the double bow will be a great suggestion.
How to tie a three-pointed ribbon bow
Ingredient
- 1 piece of ribbon 20 – 25cm
- 1 thread 10-15cm
- Scissors, glue (milk glue/candle glue,…)
Doing
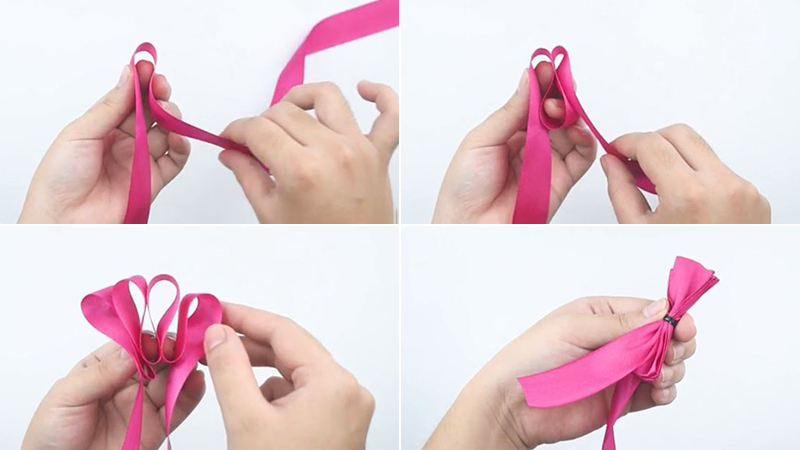
 How to make a three-pointed ribbon bow
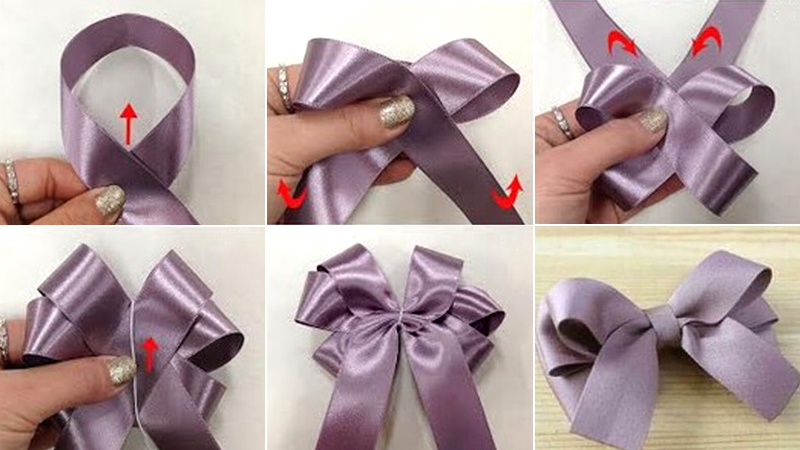
First, you cut the ribbon into a short length of about 0.5 – 1cm (horizontally) to make the center of the bow. As for the remaining ribbon, you fold it in half and inflate it by crisscrossing their ends together. When done, fold the tops of the 2 ribbons down to create folds for the 2 bow wings.
Then you flip the 2 wires of the ribbon upside down (back side), and then back down again (front side) to make 6 wings. When you’re done, use the thread to wrap it around and fasten it. Next, you take the original cut ribbon around the center of the bow and use glue to fix it. So it’s done.
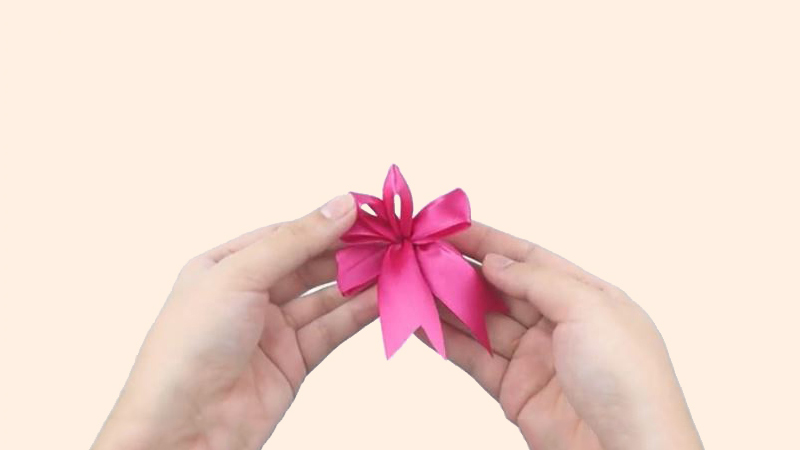
Finished product
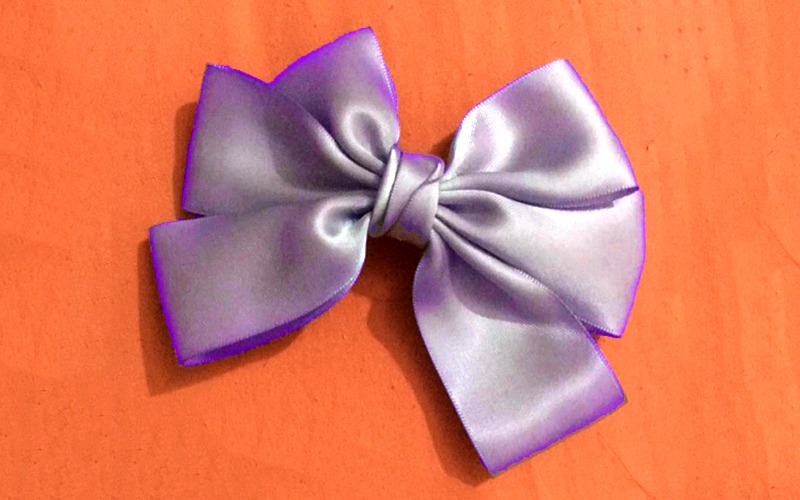 The three-pointed ribbon bow is both simple and pretty
This three-pointed bow is considered a newer variation of the double bow. Make sure it’s both easy to make and pretty to attract everyone.
How to tie a multi-layered ribbon bow
Ingredient
- 1 ribbon about 30cm
- 1 thread about 10-15cm
- Scissors
Doing
 How to make a layered ribbon bow
First, at the left end of the ribbon, leave a piece of wire about 4cm. From there, take another piece of about 4cm to form a loop, then use your thumb and index finger to hold this fold. Then make a second fold from the side (right) ribbon.
Continue like this, you will create evenly folded loops until the end of the ribbon (remember to leave a piece of about 4cm like the left end). Then you take the thread and wrap it around the part between the loops and tie it tight. Finally, you separate the folds so that the center tie is hidden to create the bow shape. So it’s done.
Finished product
 The bow is pretty but very eye-catching
So the layered bow is done. It sounds complicated, but once you start doing it, it’s not as difficult as you think. Surely you will create a beautiful bow like this.
How to tie a butterfly ribbon bow
Ingredient
- 2 ribbons (1 strand about 60cm, 1 strand about 10cm)
- Drag
Doing
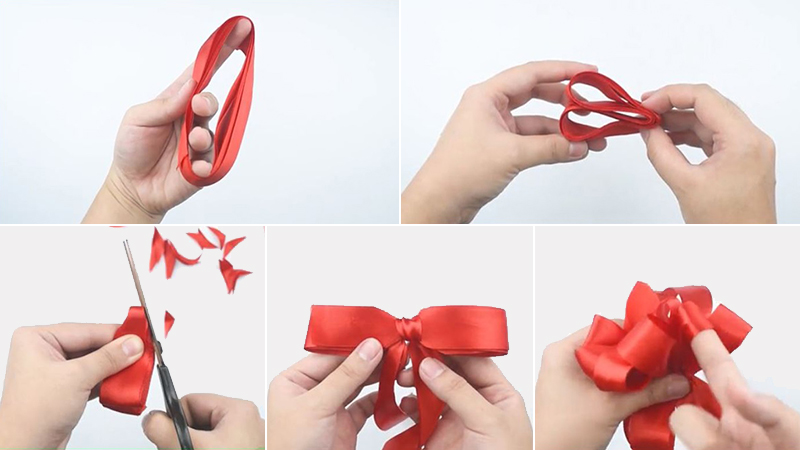
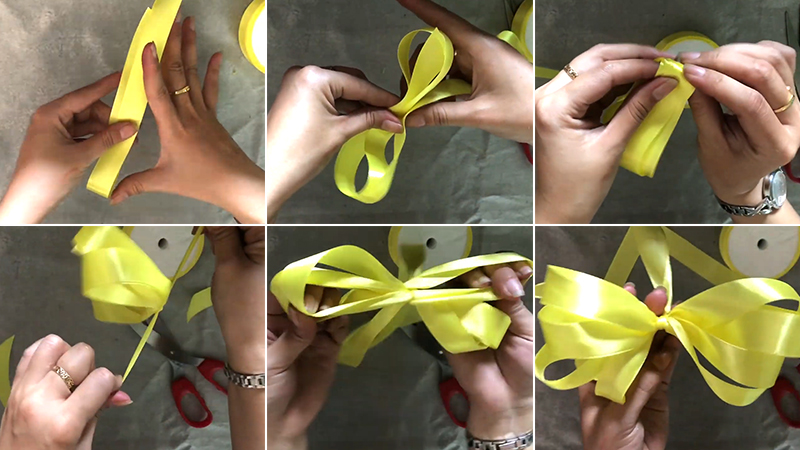 How to make a butterfly ribbon bow
First, you take a 60cm ribbon and wrap it around many times until the end of the rope (each round is about 1 span 15cm). Then, you fold the loops in half, and then use a 10cm ribbon to tie them in the middle. When done, take turns separating the loops of wire to the outside and adjusting them so that they form butterfly wings. So it’s done.
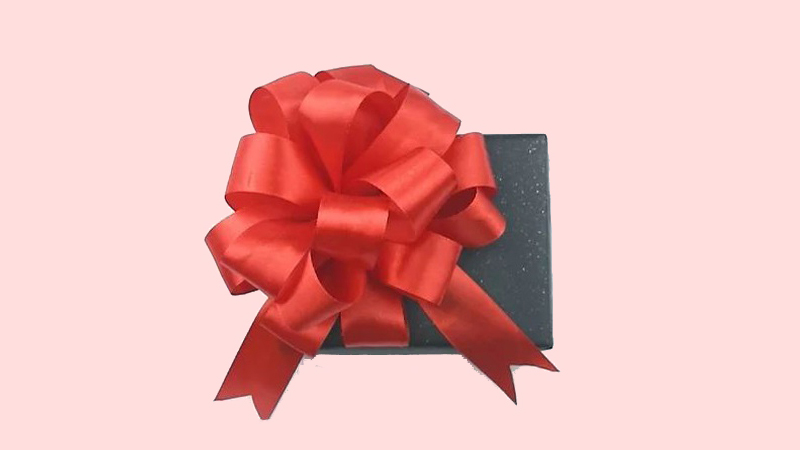
Finished product
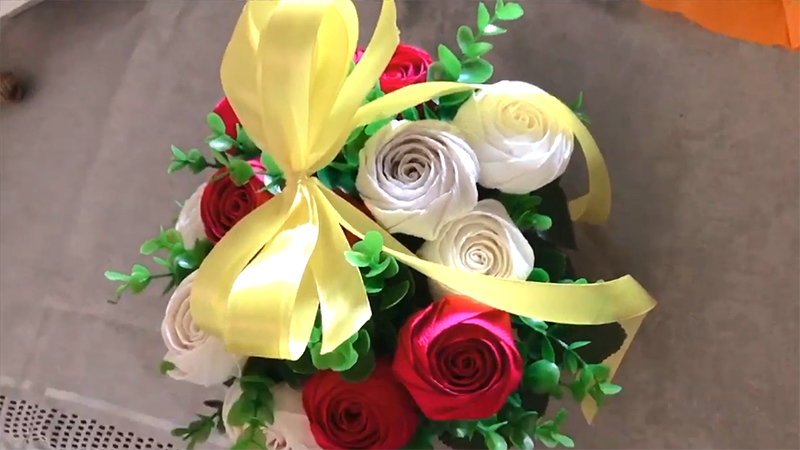 Very pretty butterfly bow
It’s so simple to make a bow, isn’t it? No matter how clumsy the team is, it is still possible to create a beautiful butterfly bow like this.
How to tie a flower-shaped ribbon
Ingredient
Doing
 How to make a flower ribbon bow
First, you take a 30cm ribbon and wrap it around 4 fingers (except the thumb) many times until the end of the string (remember to wrap it close together). Then you carefully remove the ribbon loops from your fingers and fold them in half. When done, use scissors to cut off the two sides of this middle fold.
Next, you use a 7cm ribbon to tie the part between the cuts of the 30cm piece of string. Done, you turn to separate the loops from the inside to the outside. Adjust so that the loops form a flower shape. So it’s done.
Finished product
 The bow is like a brilliant hydrangea flower, attracting all eyes
See if this bow looks like a hydrangea flower. With just a few simple steps, you can create a unique and attractive product like this.
Hopefully, through the above sharing, you have learned 6 quick, beautiful and simple ways to make ribbon bows, anyone can do it. These bows will contribute to decorate your gift boxes, accessories, dresses, … more eye-catching and fresh.
>>How to tie a bow in just 10 seconds is very simple, neat and attractive
>>How to make beautiful paper roses for your lover
>>Make confetti by your own hands to give your other half on Valentine’s Day
Good experience Thptlaihoa.edu.vn
In conclusion, creating ribbon bows is a delightful and attainable craft that anyone can enjoy. With just a few simple techniques, you can transform a simple piece of ribbon into a stunning and eye-catching bow. Whether you are looking to enhance your gift wrapping skills, embellish a decorative item, or add a touch of elegance to your hair accessories, these six quick and beautiful ways to make ribbon bows are sure to inspire and empower you. So go ahead, grab your favorite ribbon and get creative. You’ll be amazed at how easily you can create stunning ribbon bows that are bound to impress!
Thank you for reading this post 6 quick, beautiful, and simple ways to make ribbon bows, anyone can do it at Thptlaihoa.edu.vn You can comment, see more related articles below and hope to help you with interesting information.
Related Search:
1. “Step-by-step guide to creating ribbon bows for beginners”
2. “Easy DIY ribbon bow tutorials for beginners”
3. “Quick and beautiful ribbon bow ideas for gifts”
4. “Simple ways to make ribbon bows with minimal materials”
5. “How to create a stunning ribbon bow in under 5 minutes”
6. “Beginner-friendly ribbon bow crafts that anyone can try”
7. “Creative ideas for using ribbon bows in home decor”
8. “Effortless ways to make ribbon bows for holiday decorations”
9. “Where to find affordable materials for making ribbon bows”
10. “Tips and tricks for perfecting ribbon bow techniques”

